Getting Started with Raspberry Pi Projects
Sep-21-2024
As I embarked on my journey into the world of Raspberry Pi, I felt a mix of excitement and curiosity. I had heard so much about this tiny computer's versatility and capabilities, and I was eager to dive in. The possibilities of what I could create seemed limitless, and I was ready to experience the hands-on learning that Raspberry Pi promised. This article chronicles my personal journey as I explored various projects, starting from scratch, with just a few components and a whole lot of enthusiasm.
Understanding the Basics
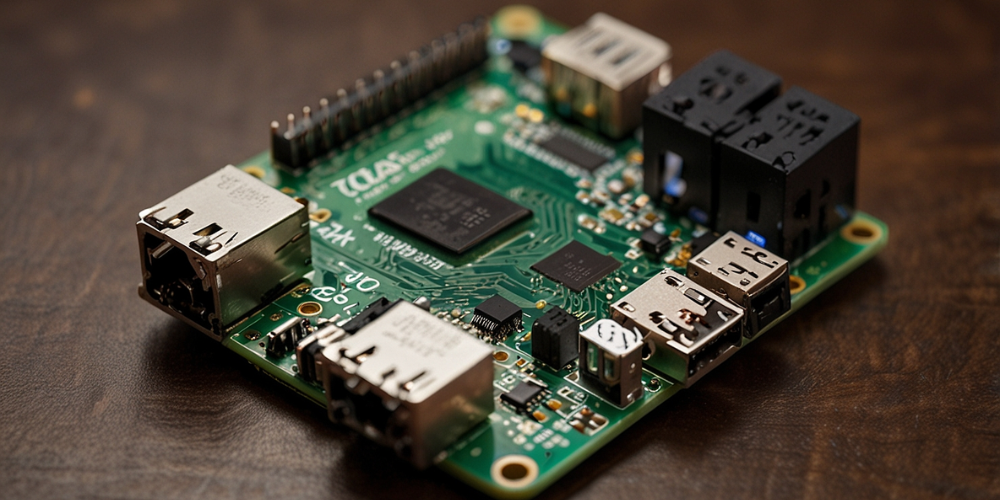
Before starting my first project, I realized I needed to familiarize myself with the basics of Raspberry Pi. I started with the official Raspberry Pi website, which offered a wealth of information, from hardware components to software packages. Learning about the various models—like the Raspberry Pi 4 and Raspberry Pi Zero—helped me identify the one that suited my needs best. I opted for the Raspberry Pi 4 due to its powerful hardware specifications.
The Essential Components
Getting the necessary components together was the next step. I started with the Raspberry Pi 4 board and gathered a selection of accessories: a microSD card for storage, a power supply, HDMI cables for display, and a heat sink to keep the board cool. As a beginner, I also picked up a breadboard and jumper wires to prototype various circuits. Each component held its significance, and I was beginning to see how they all worked together.
Setting Up the Raspberry Pi
Once I had everything ready, it was time to set up the Raspberry Pi. I inserted the microSD card into my computer and downloaded the Raspberry Pi Imager, which I found to be an intuitive tool for installing the operating system. My choice was Raspberry Pi OS, as it seemed beginner-friendly. After selecting the OS and writing it to the microSD card, I was thrilled to insert it into the Raspberry Pi and power it up for the first time. Watching the boot process fill me with delight, as the little device came to life.
Exploring the Desktop Environment
After booting up, I was greeted with a vibrant desktop environment, reminiscent of traditional Linux distributions. The user interface felt approachable, making it easy to explore its files, settings, and applications. I spent some time getting comfortable, customizing the desktop, and familiarizing myself with the terminal—after all, I knew that mastering this tool would be essential for my future projects.
Diving into Python Programming
As someone keen on software development, I knew that Python was the primary language for most Raspberry Pi projects. I began exploring the basics of Python programming, checking out online resources, and experimenting with some simple scripts. It was fascinating to see how easy it was to control the GPIO pins on the Raspberry Pi, opening the door to countless hardware projects. I felt empowered by the knowledge that I could interact with the physical world through code.
My First Project: Blinking LED
With a solid understanding of the basics and a hunger for hands-on experience, I decided to embark on my first real project: blinking an LED light. I gathered my components: an LED, a resistor, and some jumper wires. After connecting everything to the breadboard and writing a simple Python script to control the LED, I ran the code and watched in awe as the LED blinked on and off. This small success ignited my passion for electronics and programming in tandem.
Building a Simple Weather Station
Buoyed by my earlier success, I set my sights on a more complex project: a simple weather station. I sourced a DHT11 temperature and humidity sensor and connected it to my Raspberry Pi. Using the same programming skills I had honed with the LED project, I was able to write a script that recorded data and displayed it on the screen. I was thrilled to see real-time readings of the temperature and humidity in my environment. It felt surreal to turn my Raspberry Pi into a functioning weather station.
Learning to Use Libraries
A crucial aspect of working with Raspberry Pi is knowing how to leverage libraries. As I worked on my weather station, I learned about libraries like Adafruit_DHT, which simplified retrieving sensor data. By exploring existing libraries, I discovered how many community-developed solutions were available. This newfound knowledge broadened my understanding and significantly expedited my project development.
Exploring IoT: Remote Weather Station
Inspired by my weather station's success, I decided to expand the project by making it remote. I researched various IoT protocols and settled on using MQTT, a lightweight messaging protocol. This allowed me to send temperature and humidity data from my Raspberry Pi to a cloud service. With the help of additional libraries, I was able to establish the connection seamlessly. Watching my data update in real-time from my smartphone was a rewarding experience.
Coding with GPIO Pins
As I delved deeper into Raspberry Pi projects, I realized the significance of understanding GPIO pins. I experimented with different configurations and modes available on these pins. I learned how to read digital signals, control motors, and even set up a button interface. The hands-on experience of manipulating physical hardware enhanced my coding skills and deepened my understanding of how computers interact with the real world.
Media Center Magic
Seeking new challenges, I decided to transform my Raspberry Pi into a media center using Kodi. I followed several guides online to install and configure Kodi on Raspberry Pi OS. After a bit of tinkering to optimize video playback and network settings, I immersed myself in a world of streaming movies and music directly from my Raspberry Pi. It was fascinating to see how my small computer could double as a fully functional entertainment hub.
Making a Retro Gaming Console
Building on my media center success, I wanted to tap into nostalgia by creating a retro gaming console. I installed RetroPie, an exceptional software that allows you to play games from consoles like NES, SNES, and Sega Genesis. I spent hours tweaking settings and configuring controllers, excitedly reliving childhood memories. It was incredible to see how far technology had advanced, and the Raspberry Pi made it all possible.
Networking and Remote Access
As my projects grew, I realized the importance of networking and remote access. I learned how to set up SSH to remotely access my Raspberry Pi, which greatly enhanced my ability to manage projects without needing a dedicated monitor. With SSH, I could control my projects from anywhere in my house, shifting to a more efficient workflow that felt liberating. I also explored setting up a web server using Flask to host a simple website, further expanding my skills.
Monitoring Systems with a Camera
I wanted to incorporate surveillance into my projects, so I decided to connect a camera module to my Raspberry Pi. I learned how to configure the camera and wrote scripts to capture pictures and record videos. Adding motion detection enabled me to set up a simple security system. Every time the camera detected movement, I received an alert, which gave me peace of mind knowing that I could monitor my home environment effectively.
Exploring AI with TensorFlow Lite
Fascinated by the intersection of hardware and artificial intelligence, I explored using TensorFlow Lite with my Raspberry Pi. This project involved setting up a machine learning model to recognize objects using the camera. I spent weeks familiarizing myself with the framework and tweaking parameters to improve accuracy. Successfully identifying objects through my Raspberry Pi was nothing short of exhilarating and propelled my understanding of AI even further.
Collaborating with the Community
Throughout my journey, I quickly learned that the Raspberry Pi community is incredibly vibrant and supportive. Participating in online forums and attending local meetups enriched my knowledge and exposed me to new ideas. Collaborating with like-minded enthusiasts fueled my creativity, as we exchanged tips, troubleshooting advice, and project inspiration. I realized that the journey was as much about the community as it was about the technology itself.
Documenting My Projects
I recognized the importance of documenting my projects as I delved deeper into the Raspberry Pi world. Creating a blog not only served as a personal archive but also allowed me to share insights and challenges with others. By detailing each project's process and outcomes, I found joy in writing and teaching, reinforcing my own knowledge in the process. Engaging with readers and receiving their feedback motivated me to continue exploring and innovating.
A World of Possibilities
Reflecting on my journey with Raspberry Pi, I am amazed at the growth I have experienced. What began as a simple curiosity transformed into a passion for technology and creativity. With each project, I learned not just technical skills but also the importance of patience, problem-solving, and collaboration. The Raspberry Pi opened countless doors, and I am excited to see where this journey will lead me next.


